Main
Japanese V-Pets
- Original V-Pet
- Pendulum
- Pendulum Progress
- Introduction
- Evolution Guide
- Profiles
- Gallery
- Jogressing
- Pendulum X
- Digimon Accelerator
- Digimon Mini
- Digivice iC / Burst
- Digimon Twin
- Xros Wars Mini
Japanese Digivices
- Original Digivice
- D-3
- D-Ark
- D-Scanner
- Xros Loader
Japanese Misc
- Digimon Analyzer
- D-Terminal
- DigiWindow
- Extras
Other V-Pets
- V-Pet Version 6
- Pendulum Cycle
- D-Cyber
Other Digivices
- Digivice (US/Eu/Asia)
- D-3 (US/Eu/Asia)
- D-Power (US)
- D-Power (Eu/Asia)
- D-Tector
- Data Link (US)
- Digimon Neo
Other Misc
- D-Terminal (US/Eu/Asia)
- D-Gather
- D-Spirit
- D-Spirit 2
DDP cards for Accel and iC
Entering the codes by hand can be difficult at times, and the official data plates are hard to find and expensive - so here's how to make some cards that can be scanned instead.
PDF templates for Accel
PDF templates for iC
Codes for Accel
Codes for iC
First, download the appropriate PDF file and print out the templates. Make sure to print the page at actual size - turn off all scaling options. It should say 100% size. The boxe(s) on the printout should end up the exact size and shape of a credit card (85.5 * 54mm).
Now, there's more than one way to do this. The idea is to use the top layer as a mask, to insulate some areas, and leave others showing through to a conducting layer underneath. (The shaded areas on the template represent metal.) The method described here requires a suitable hole-punch tool.
The Accel requires 12 different card patterns (allowing rotation) while the iC only requires 5. That's 11 and 4 if you don't count the "all pins connected" combination. The iC uses 2 pegs (of which either or both may be selected) to make up for this.
Cut out the templates and glue them onto thin card. Then, punch out the white holes. So you get something like this:
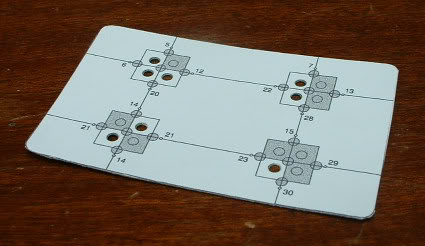
Next, glue a sheet of blank paper onto the back of the card. Punch out all the shaded holes. (This includes all the holes round the edges of the squares on the iC, and the central hole of each circle on the Accel.) And the cards are done.
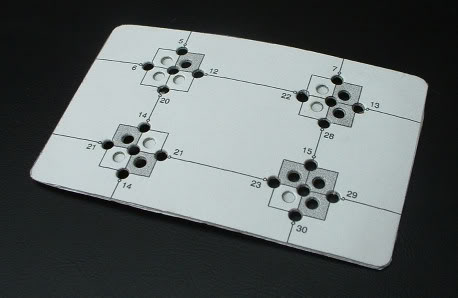
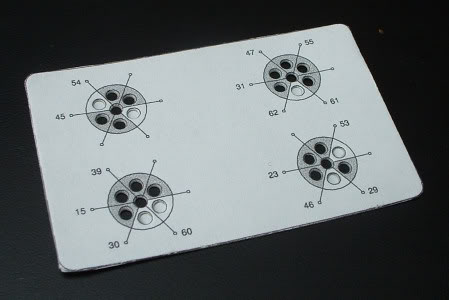
The cards need to be placed over peg-boards with a metal layer attached. Shown here are pieces of wood with a layer of aluminium foil glued to the surface, and short pieces of cocktail stick glued into holes. The iC can use one peg or two for the Plate Scan, while the Accel only uses the single peg. For DNA/DigiSoul scanning, with no pegs, the cards need to be pressed onto a flat metal surface (not shown here).
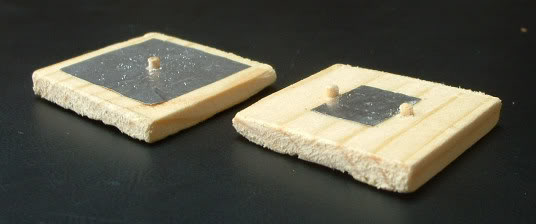
The Accel is fairly forgiving about the length of the peg, but the iC is rather fussy. This can take some trial and error to get right. If the pegs are too short then they don't register. If the pegs are too long then the metal pins don't all make contact.
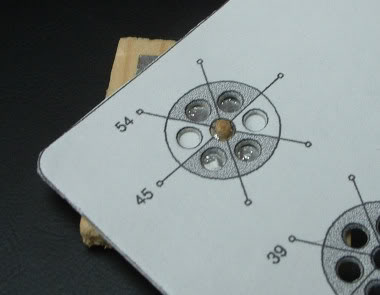
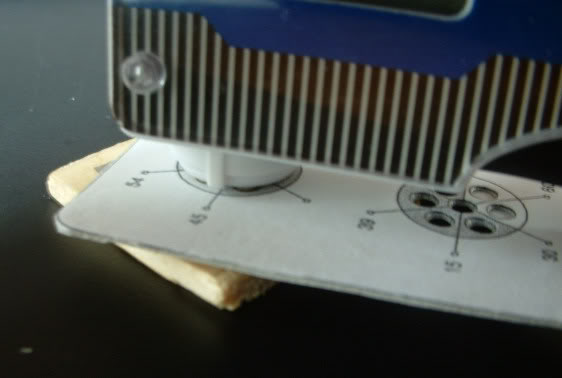
To scan with the Accel, place the circle's central hole over the peg for a DDP (or use any flat conducting surface for DNA). When scanning, the small peg on the side of the sensor (that fits into the notch on a regular DDP) is lined up with one of the numbered lines. (So I'm scanning number 45 in this picture.) Push down firmly to be sure it's making contact.
Scanning with the iC is a little more complicated. The relevant card number is the one on the same side of the square as the iC's screen. Basically, it's the number that's visible when you can see the screen.
When the charts specify L and R pegs, remember it's Left and Right relative to the iC's screen when viewed the right way up. (Since it's normal to scan these with the iC upside down, it may appear as if left and right are flipped.)
The first picture shows the card set up for scanning 7L or 28R. In the second picture, the iC is scanning number 28.
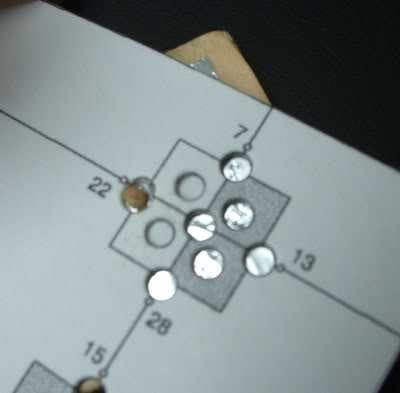
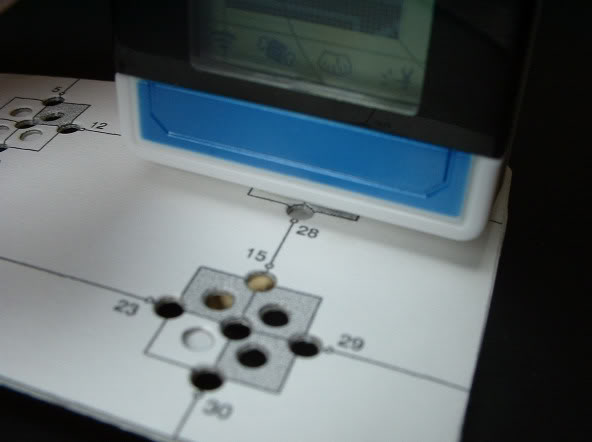
The first picture here shows the card set up with two pegs, for scanning 13LR or 22LR. The second picture shows the iC scanning number 13.
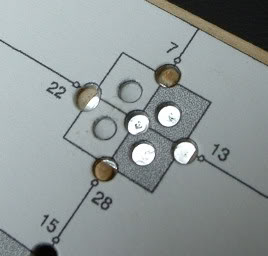
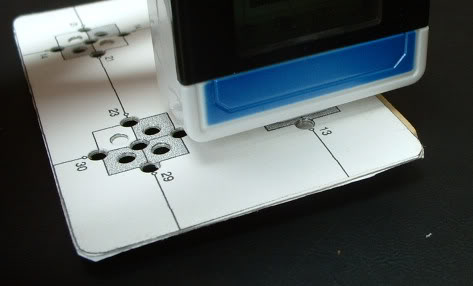
To scan number 31 with the iC, remove the card and just scan the foil on the wood block.
So, what do the numbers mean? They are the decimal equivalent of the binary code that shows up on the screen when DNA/DigiSoul scanning (read from top-to-bottom on the iC). 000101 is 5, and so on. It makes more sense to refer to them by their codes and not by what they do, because the same codes mean different things in different contexts.